Easy Samoa Rice Krispie Treats Recipe
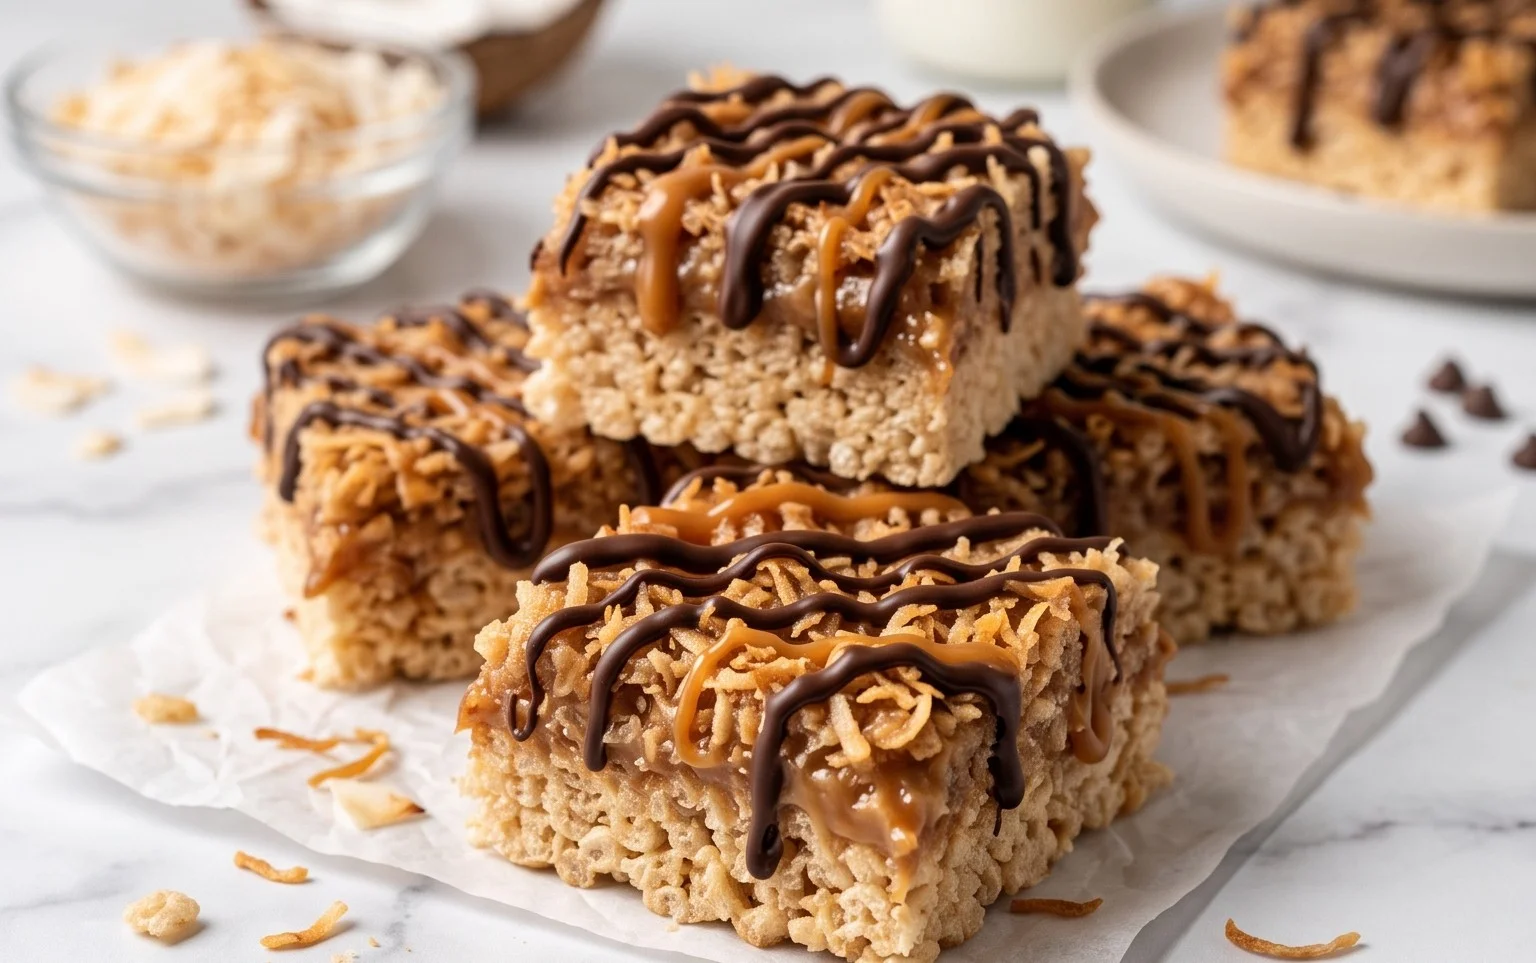
Samoa Rice Krispie Treats take a beloved childhood snack and give it a grown-up makeover, inspired by those irresistible coconut-caramel cookies. These aren’t your average Krispie treats; they’re a chewy, crunchy delight that brings together the familiar gooey marshmallow base with the irresistible flavors of toasted coconut, rich dulce de leche, and a decadent chocolate drizzle. It’s like the cookie came to life in bar form. Everyone loves a good Rice Krispie treat, and the addition of those classic Samoa flavors makes them even more special, perfect for anyone who craves that cookie but wants a quicker, easier dessert. They come together fast, making them ideal for last-minute gatherings or when a sweet tooth strikes hard. You get all the comforting crunch and chew, plus layers of flavor that mimic the real cookie without all the baking fuss. Get ready for a new favorite.
Ingredients:
- 5 cups mini marshmallows
- 3 TBS butter
- 6 cups Rice Krispie cereal
- 14 oz bag sweetened shredded coconut
- 2 TBS milk
- 1 (13.4 oz) can dulce de leche
- 6 oz semisweet chocolate (melted)
Samoa Rice Krispie Treats
These Samoa Rice Krispie Treats bring the flavor of your favorite coconut cookie to a chewy, crunchy, and incredibly easy dessert. They start with the familiar, gooey base of Rice Krispie treats but get a serious upgrade with layers of toasted coconut, rich caramel-like dulce de leche, and a decadent chocolate drizzle. They’re the kind of treat that disappears fast, perfect for parties, bake sales, or just a serious craving.
Preparing Your Workspace and Pan
Before you even think about melting marshmallows, get your 9×13 inch baking pan ready. I like to grease mine thoroughly with butter or cooking spray. You can also line it with parchment paper, leaving an overhang on the sides. This makes lifting the whole slab out so much easier for cutting later, which is always a win. Make sure you have a large mixing bowl ready, too, and your measuring cups and spoons handy. Having everything prepped means you can move quickly when the marshmallows are melted, which is key to getting the right texture.
Creating the Coconut Base
The first step in bringing these treats to life is to toast the coconut. While you could technically add it raw, toasting it really brings out its nutty, sweet flavor, similar to how it is on a Samoa cookie. You can do this in a dry skillet over medium heat, stirring constantly, until it’s lightly golden brown. Keep a close eye on it because coconut can go from perfectly toasted to burnt in a blink. Alternatively, you can spread the shredded coconut on a baking sheet and toast it in a 350°F (175°C) oven for about 5-7 minutes, watching carefully and stirring halfway through. Once toasted, set it aside in a separate bowl. You’ll need about 14 ounces, which is typically one standard bag.
The Marshmallow Melting Magic
Now, let’s get that classic Rice Krispie treat base going. In your large mixing bowl, or in a large saucepan over low heat if you prefer to mix everything in one pot, combine the 3 tablespoons of butter and the 5 cups of mini marshmallows. Gently melt them together, stirring frequently. The key here is low and slow heat. If the heat is too high, the marshmallows can scorch and give the treats an undesirable flavor. You want them completely melted and smooth, like a glossy, gooey cloud. Once they’re fully melted and smooth, remove the bowl or saucepan from the heat.
Combining Everything Together
This is where things get really exciting. To the melted marshmallow mixture, stir in the 2 tablespoons of milk. This helps to make the mixture a bit more pliable and less sticky, which is a great little trick. Then, immediately add the 6 cups of Rice Krispie cereal and the toasted shredded coconut. Stir everything together quickly but gently until the cereal and coconut are evenly coated in the marshmallow mixture. Don’t overmix, as this can make the treats tough. You want to work fast here because the marshmallow mixture will start to set as it cools.
Layering the Flavor
Once the cereal and coconut mixture is combined, carefully press about two-thirds of it into your prepared 9×13 inch pan. Use a spatula or your hands (lightly greased or dampened so they don’t stick) to press it down evenly. You don’t want to pack it down too hard, or the treats will be dense. Now comes the dulce de leche layer. Gently spread the 1 (13.4 oz) can of dulce de leche evenly over the pressed cereal mixture. Try to get it as close to the edges as you can without it dripping down the sides too much. This creamy, caramel-like goodness is what really makes these treats taste like Samoas. After the dulce de leche is spread, take the remaining one-third of the Rice Krispie mixture and carefully crumble or spread it evenly over the dulce de leche. This creates a layered effect.
The Finishing Touch: Chocolate Drizzle
The final step is the chocolate drizzle. Melt the 6 ounces of semisweet chocolate. You can do this in a microwave-safe bowl in 30-second intervals, stirring between each, until it’s smooth. Alternatively, you can use a double boiler. Once melted, transfer the chocolate to a piping bag or a Ziploc bag with a small corner snipped off. Drizzle the melted chocolate back and forth over the top of the treats in a decorative pattern. This is purely for looks and extra chocolatey goodness. If you don’t have a piping bag, you can just use a spoon to drizzle it, but a bag gives you more control for that classic look.
Cooling and Cutting
Allow the treats to cool completely at room temperature. This is important because if you try to cut them too soon, they’ll fall apart. This usually takes at least an hour, but longer is fine. Once they are completely set, use the parchment paper overhang to lift the whole slab out of the pan. Place it on a cutting board and cut into squares. You can make them as large or as small as you like. Store any leftovers in an airtight container at room temperature for up to 3 days. They are best enjoyed within the first day or two for maximum crispiness and chewiness.
Conclusion:
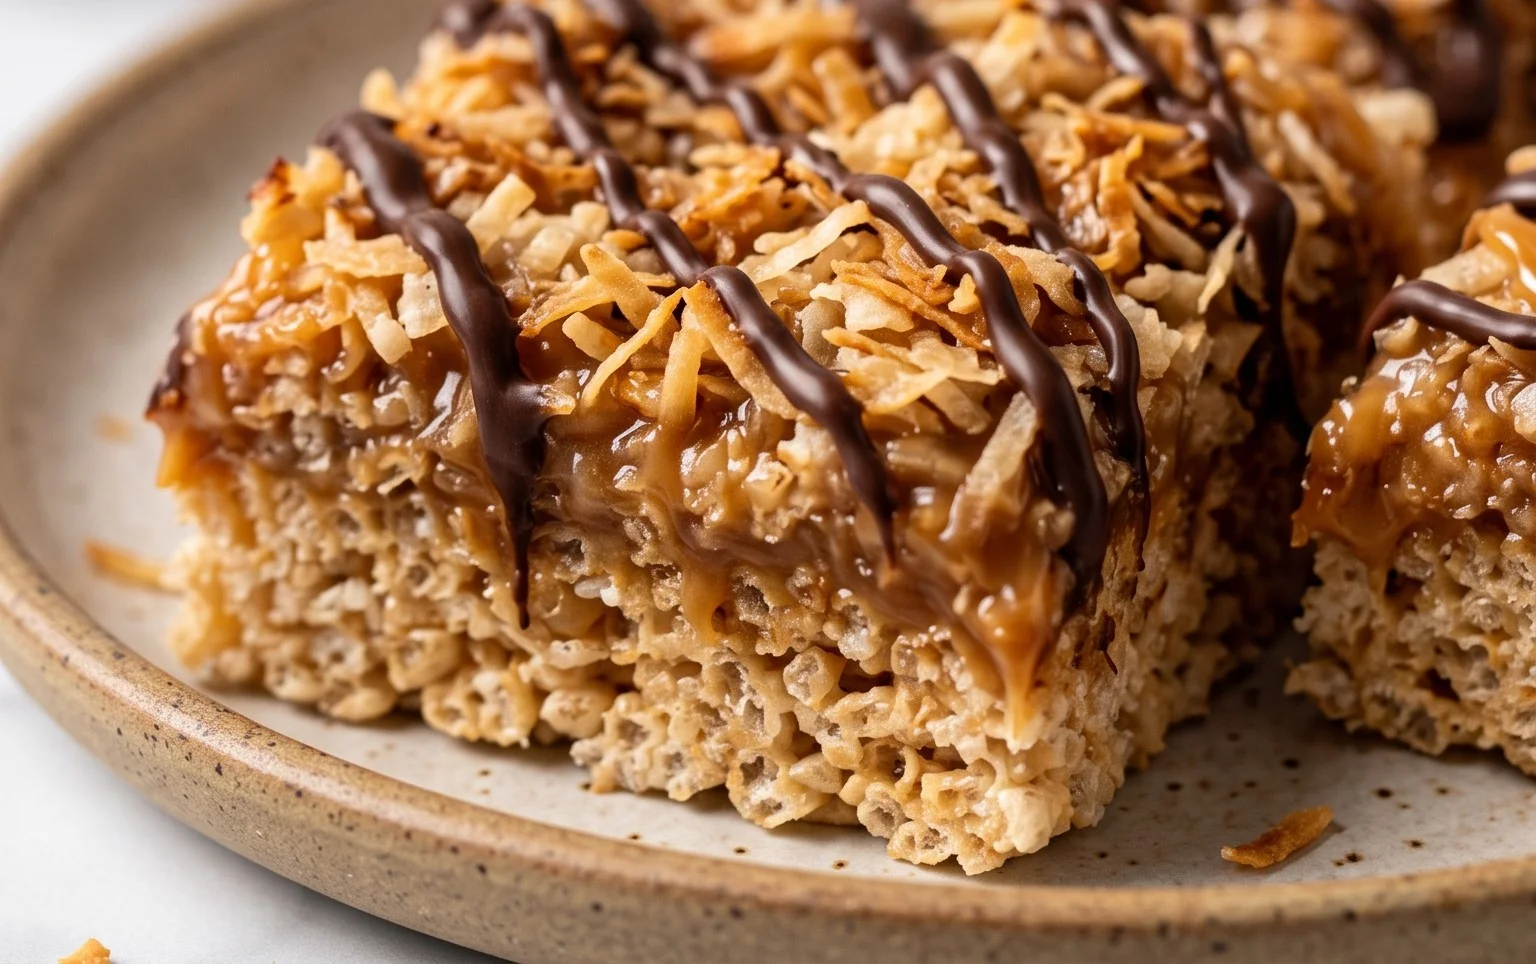
These Samoa Rice Krispie Treats are a fantastic way to get all the amazing flavors of the classic cookie in a super easy, no-bake format. They’re chewy, crunchy, and packed with toasty coconut, sweet dulce de leche, and chocolate – seriously, what’s not to love? They’re perfect for parties, potlucks, or just making an ordinary day a little more special. You can serve them cut into squares or even use cookie cutters for fun shapes. For variations, try adding some toasted pecans or a sprinkle of flaky sea salt on top of the chocolate drizzle for an extra pop. They store well in an airtight container at room temperature for a few days, though they’re best enjoyed within the first two days for peak freshness. Give these Samoa Rice Krispie Treats a try; I think you’ll be hooked!
FAQs
Can I use regular-sized marshmallows instead of mini marshmallows?
Yes, you can use regular-sized marshmallows. You’ll need about 5 cups, which is roughly one 10-ounce bag. Melt them the same way as the mini ones, though they might take a minute or two longer.
How do I store Samoa Rice Krispie Treats?
Store them in an airtight container at room temperature. They’ll stay fresh for about 2-3 days, but they’re best when they’re still a little soft and chewy.
Can I make these vegan?
You can make these vegan by using vegan butter, vegan marshmallows, and a dairy-free dulce de leche alternative if available. For the chocolate drizzle, use dairy-free chocolate chips. The texture might be slightly different, but the flavor will still be delicious.
Samoa Rice Krispie Treats
A delightful twist on classic Rice Krispie treats, inspired by the flavors of Samoa cookies.
Ingredients
-
5 cups mini marshmallows
-
3 TBS butter
-
6 cups Rice Krispie cereal
-
14 oz bag sweetened shredded coconut
-
2 TBS milk
-
1 (13.4 oz) can dulce de leche
-
6 oz semisweet chocolate (melted)
Instructions
-
Step 1
Grease a 9×13 inch baking pan. -
Step 2
In a large saucepan, melt butter over low heat. Add marshmallows and stir until completely melted and smooth. -
Step 3
Remove from heat. Stir in the shredded coconut and milk until well combined. -
Step 4
Add Rice Krispie cereal and stir gently until evenly coated. -
Step 5
Press the mixture evenly into the prepared baking pan. -
Step 6
Warm the dulce de leche slightly if it’s too thick to drizzle. Drizzle generously over the top of the treats. -
Step 7
Drizzle the melted semisweet chocolate over the dulce de leche in a decorative pattern. -
Step 8
Let cool completely before cutting into squares.
Important Information
Nutrition Facts (Per Serving)
It is important to consider this information as approximate and not to use it as definitive health advice.
Allergy Information
Please check ingredients for potential allergens and consult a health professional if in doubt.