Easy Chocolate Covered Caramel Apple Slices Recipe
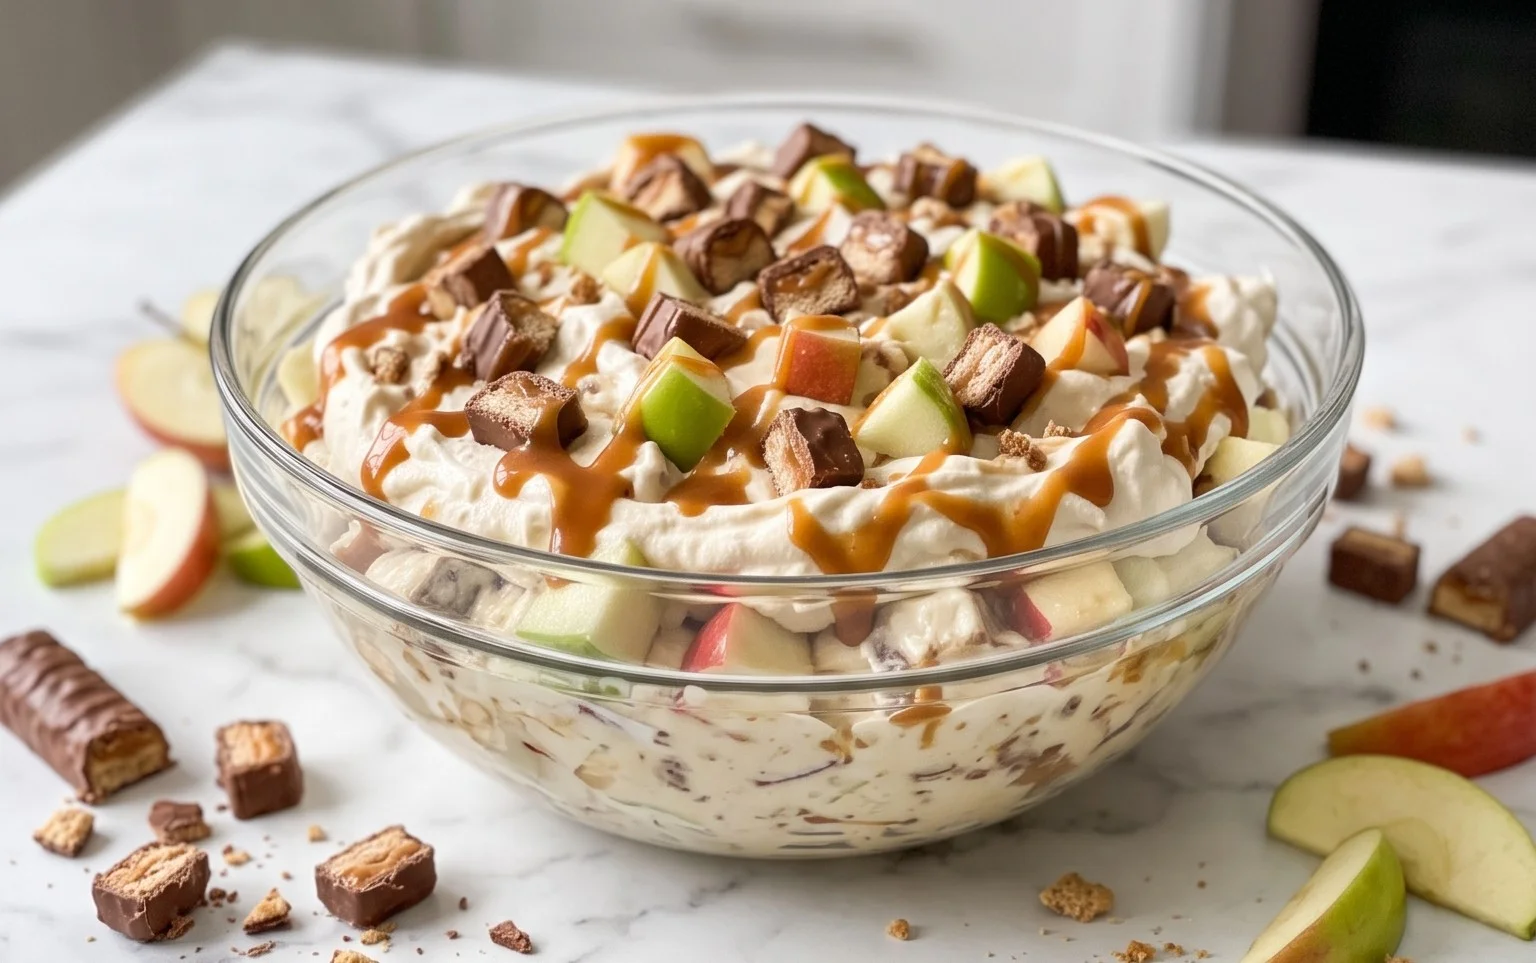
Chocolate Covered Caramel Apple Slices offer a delightful twist on a classic fall treat. Instead of wrestling with a whole apple on a stick, we’re making easy-to-eat slices that are perfect for parties, a cozy afternoon, or just when a sweet craving hits. The beauty of these is in their balance – the crisp, tart apple provides a wonderful counterpoint to the rich, gooey caramel and smooth chocolate coating. It’s a combination that just works. I love making these because they feel fancy but are surprisingly simple to put together. The tartness of apples like Granny Smith cuts through the sweetness beautifully, and the smooth chocolate shell with the soft caramel inside is simply irresistible. These aren’t just another dessert; they’re an experience, combining textures and flavors that make you feel like you’re at a special event, even if you’re just enjoying them on your couch.

Ingredients:
- 3 large granny smith or honeycrisp apples (, washed and dried well)
- 10 ounces milk or dark chocolate melting wafers ((such as Ghirardelli))
- 8 ounces soft caramel squares ((1 cup), unwrapped (such as Kraft))
- 2 tablespoons heavy cream
- 1 cup complementary variety chocolate melting wafers (, optional but recommended (see note))
- mini M&M's, chopped nuts (, and/or other assorted small toppings of your choosing*)
Chocolate Covered Caramel Apple Slices
These apple slices are a fun twist on the classic caramel apple. Instead of wrestling with a whole apple on a stick, we’re making easy-to-eat slices. They’re perfect for parties, a fall treat, or just because you’re craving something sweet and a little bit fancy. The tartness of the apples cuts through the rich caramel and chocolate beautifully.
Preparing the Apples
The first step to success is to get your apples ready. You want to start with good quality apples that hold their shape and have a nice balance of sweetness and tartness. Granny Smith apples are fantastic for their tartness, which really balances the sweet toppings. If you prefer something a little sweeter but still crisp, Honeycrisp apples are another excellent choice. Make sure you wash them thoroughly and, most importantly, dry them completely. Any moisture on the apples can make the caramel and chocolate slide right off, which is the last thing you want. Once they are dry, you’ll want to core them. You can do this by standing the apple upright and using a sharp knife to cut down around the core, or by using an apple corer if you have one. After coring, slice each apple into wedges. Aim for slices that are about half an inch thick. You want them thick enough to hold their caramel and chocolate coating but not so thick that they’re hard to manage. Lay these slices out on a baking sheet lined with parchment paper. Parchment paper is key here; it prevents sticking and makes cleanup a breeze.
Making the Caramel Sauce
For the caramel coating, we’re going to make a simple, luscious sauce from the soft caramel squares. Unwrap your 8 ounces of soft caramel squares and place them in a microwave-safe bowl. Add the 2 tablespoons of heavy cream to the bowl. Microwave this mixture in 30-second intervals, stirring well after each interval, until the caramels are completely melted and smooth. Be careful not to overheat, as it can cause the caramel to become too stiff or even burn. The heavy cream will make the caramel sauce smooth and dippable. It also adds a lovely richness. Once the caramel is smooth, let it cool for a few minutes. You don’t want it piping hot when you start dipping, but you also don’t want it to start setting up too much. It should be warm and pourable, like a thick syrup.
Dipping the Apples in Caramel
Now for the fun part: dipping the apple slices. Take your prepared apple slices and dip each one into the slightly cooled caramel sauce. You can use a fork to hold the slice and dip it, or for a more rustic look, you can spoon the caramel over the slices while they are on the parchment paper. Aim for a good, even coating, but don’t worry if it’s not perfectly uniform; a little variation adds to the homemade charm. Once coated, let any excess caramel drip back into the bowl for a moment. Place the caramel-covered apple slices back onto the parchment-lined baking sheet. You’ll want to work relatively quickly, especially if your kitchen is warm, as the caramel will start to set.
Adding the Chocolate Coating
While the caramel is still slightly soft but starting to firm up a bit, it’s time for the chocolate. Melt your 10 ounces of milk or dark chocolate melting wafers according to the package directions. This usually involves microwaving in short intervals, stirring between each, until smooth. Be careful not to overheat the chocolate, as it can seize up and become difficult to work with. Once your chocolate is melted and smooth, you have a couple of options for coating. You can either dip the caramel-covered apple slices into the melted chocolate, or you can drizzle the chocolate over the slices. Drizzling is often easier and creates a beautiful marbled effect. If you’re dipping, do it carefully and allow excess chocolate to drip off. If you’re drizzling, use a spoon or a piping bag with a small opening to create thin, even lines of chocolate over the caramel.
Optional Second Chocolate Layer and Toppings
This is where you can really get creative and add an extra layer of flavor and visual appeal. If you’re using the complementary variety chocolate melting wafers, melt those separately and use them to drizzle over the first chocolate layer, or use them to create a contrasting pattern. This adds another dimension of chocolate flavor. While the second chocolate layer (or the first, if you skipped the second) is still wet, sprinkle on your chosen toppings. Mini M&M’s add a pop of color and a chocolatey crunch. Chopped nuts, like pecans or walnuts, provide a satisfying nutty flavor and texture. You could also use shredded coconut, sprinkles, or even a sprinkle of sea salt to balance the sweetness. Press the toppings gently into the chocolate so they adhere well.
Chilling and Serving
Once all your apple slices are coated and topped, the most important step is to let them set. Place the entire baking sheet into the refrigerator for at least 30 minutes, or until the chocolate is completely firm. This chilling process is crucial to ensure everything holds together and you get those satisfyingly crisp bites. Once set, you can carefully remove the slices from the parchment paper. These chocolate-covered caramel apple slices are best enjoyed within a day or two of making them. Store them in an airtight container in the refrigerator. They are a delightful treat that offers a wonderful combination of tart, sweet, creamy, and crunchy textures, all in one delicious bite. Enjoy sharing them or savoring them yourself!

Conclusion:
These Chocolate Covered Caramel Apple Slices are a real crowd-pleaser, perfect for any occasion, especially during the fall season. They’re easier to manage than whole caramel apples, making them ideal for sharing at parties or packing in lunchboxes. The combination of crisp apple, soft caramel, and rich chocolate is a winner every time.
Serving Suggestions:
Serve them chilled for the best texture. They’re great on their own, but you can also arrange them on a platter with other fall-themed treats or even a cheese board for a sweet and savory contrast.
Variations:
Get creative with your toppings! Drizzle white chocolate over the dark chocolate, sprinkle with sea salt, or add chopped pretzels for extra crunch. For a different flavor profile, try using different types of apples or even pears.
Give these a try – you’ll be surprised how simple they are to make and how much everyone loves them!
Frequently Asked Questions:
Q: How do I store Chocolate Covered Caramel Apple Slices?
Store them in an airtight container in the refrigerator for up to 3 days. Place parchment paper between layers to prevent sticking. They are best enjoyed within a day or two.
Q: Why is my caramel sliding off the apple slices?
This usually happens if the apple slices aren’t completely dry before dipping, or if the caramel isn’t thick enough. Ensure your apples are bone dry and let the caramel cool slightly before dipping.
Q: Can I make these ahead of time?
Yes, you can make them a day in advance. Just be sure to store them properly in the refrigerator. The apples might soften slightly overnight, but they will still be delicious.
Chocolate Covered Caramel Apple Slices
Deliciously decadent slices of tart apples coated in rich caramel and a generous layer of chocolate, perfect for a sweet treat.
Ingredients
-
3 large granny smith or honeycrisp apples (, washed and dried well)
-
10 ounces milk or dark chocolate melting wafers ((such as Ghirardelli))
-
8 ounces soft caramel squares ((1 cup), unwrapped (such as Kraft))
-
2 tablespoons heavy cream
-
1 cup complementary variety chocolate melting wafers (, optional but recommended (see note))
-
mini M&M's, chopped nuts (, and/or other assorted small toppings of your choosing*)
Instructions
-
Step 1
Wash and thoroughly dry the apples. Cut each apple into quarters, then remove the core and seeds. Slice each quarter into 2-3 wedges. -
Step 2
In a microwave-safe bowl, combine the caramel squares and heavy cream. Microwave in 30-second intervals, stirring between each, until the caramel is smooth and melted. -
Step 3
Dip each apple slice into the melted caramel, ensuring it’s coated. Place the caramel-covered slices on a parchment-lined baking sheet. -
Step 4
Melt the main chocolate wafers (milk or dark) according to package directions. Once melted and smooth, dip the caramel-covered apple slices into the chocolate, letting excess drip off. -
Step 5
While the chocolate is still wet, sprinkle with your chosen toppings such as mini M&M’s or chopped nuts. -
Step 6
If using complementary chocolate melting wafers, drizzle them over the tops of the chocolate-covered slices for added decoration. Chill the apple slices in the refrigerator until the chocolate has set completely.
Important Information
Nutrition Facts (Per Serving)
It is important to consider this information as approximate and not to use it as definitive health advice.
Allergy Information
Please check ingredients for potential allergens and consult a health professional if in doubt.